Getting started
For this article we will assume that you have just started using Gigapipe with your brand new account. So don't worry about cost as all the services used have a trial period. If you have any questions, please reach out to support@gigapipe.com
We will walk you through all the steps to get started with qryn cloud, from enabling it in your project to visualising data in Grafana.
Let's go!
Add qryn to you project
If you do not have a project yet, please create one. You can do it from the projects dropdown menu. For more info, see Create a project.
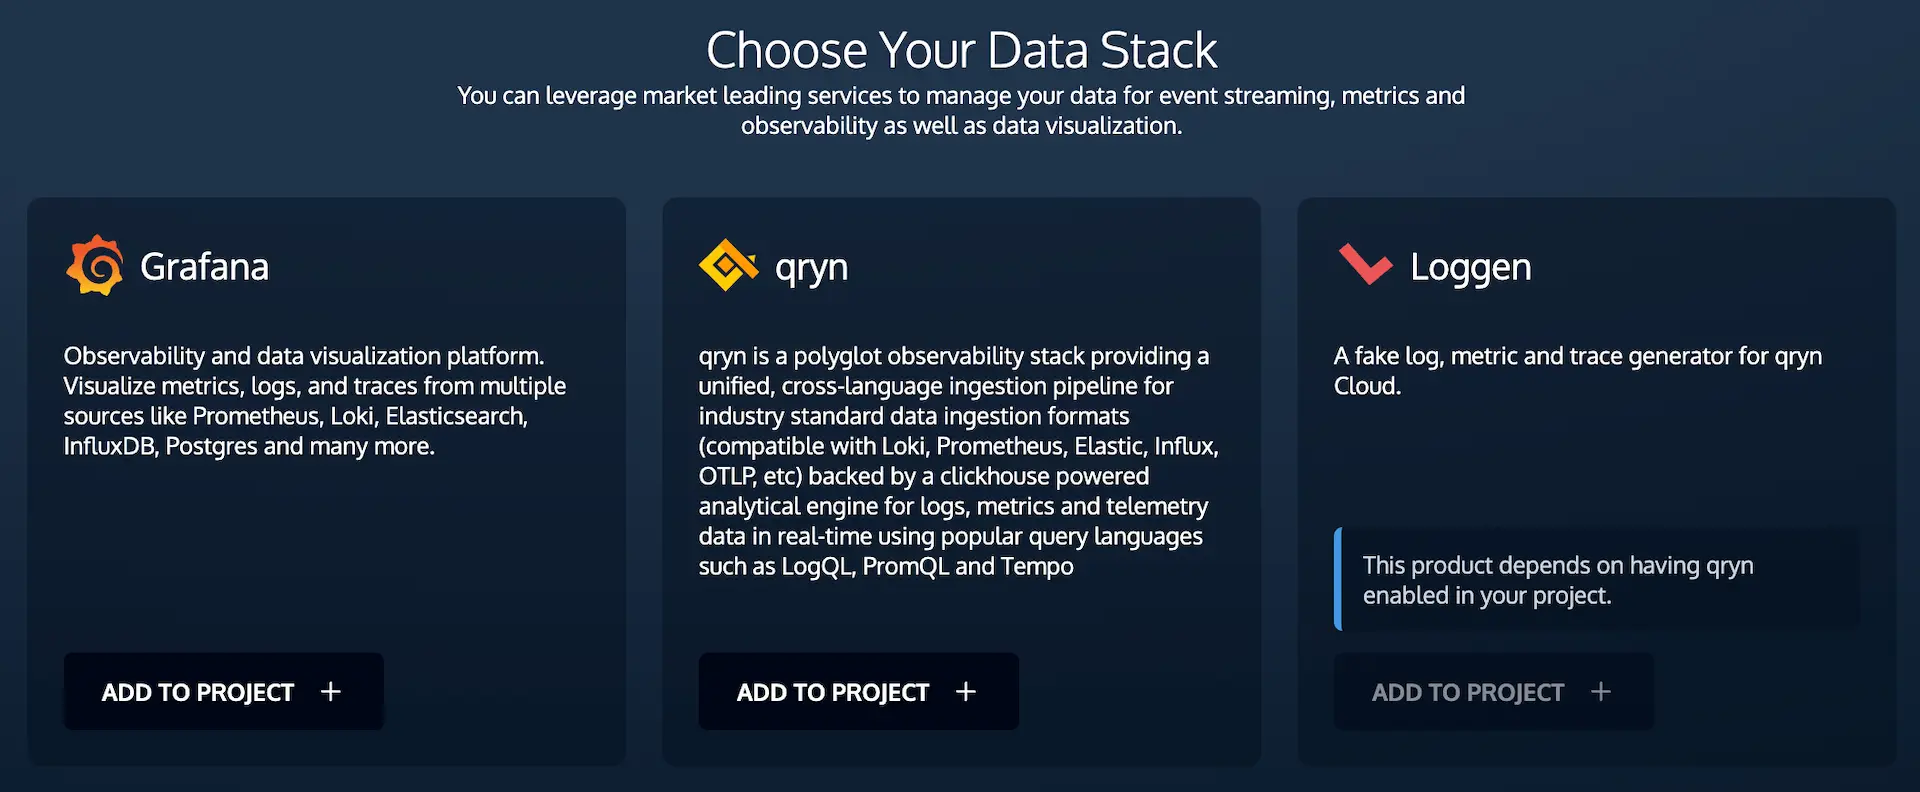
Go to the integrations page and select Add to project for qryn.
You must select one of the available regions to deploy your qryn cloud instance. For demonstration purposes we will select the Americas but in your real project make sure to select the closest region to your data.
| Region | Available |
|---|---|
| Americas | Yes |
| Europe (Germany) | Yes |
| APAC | Coming soon! |
In qryn cloud you are able to select the length of time we store your observability data. The pricing changes depending on the selected retention policy so make sure to adjust that to your needs. For now you can leave the default 30 days.
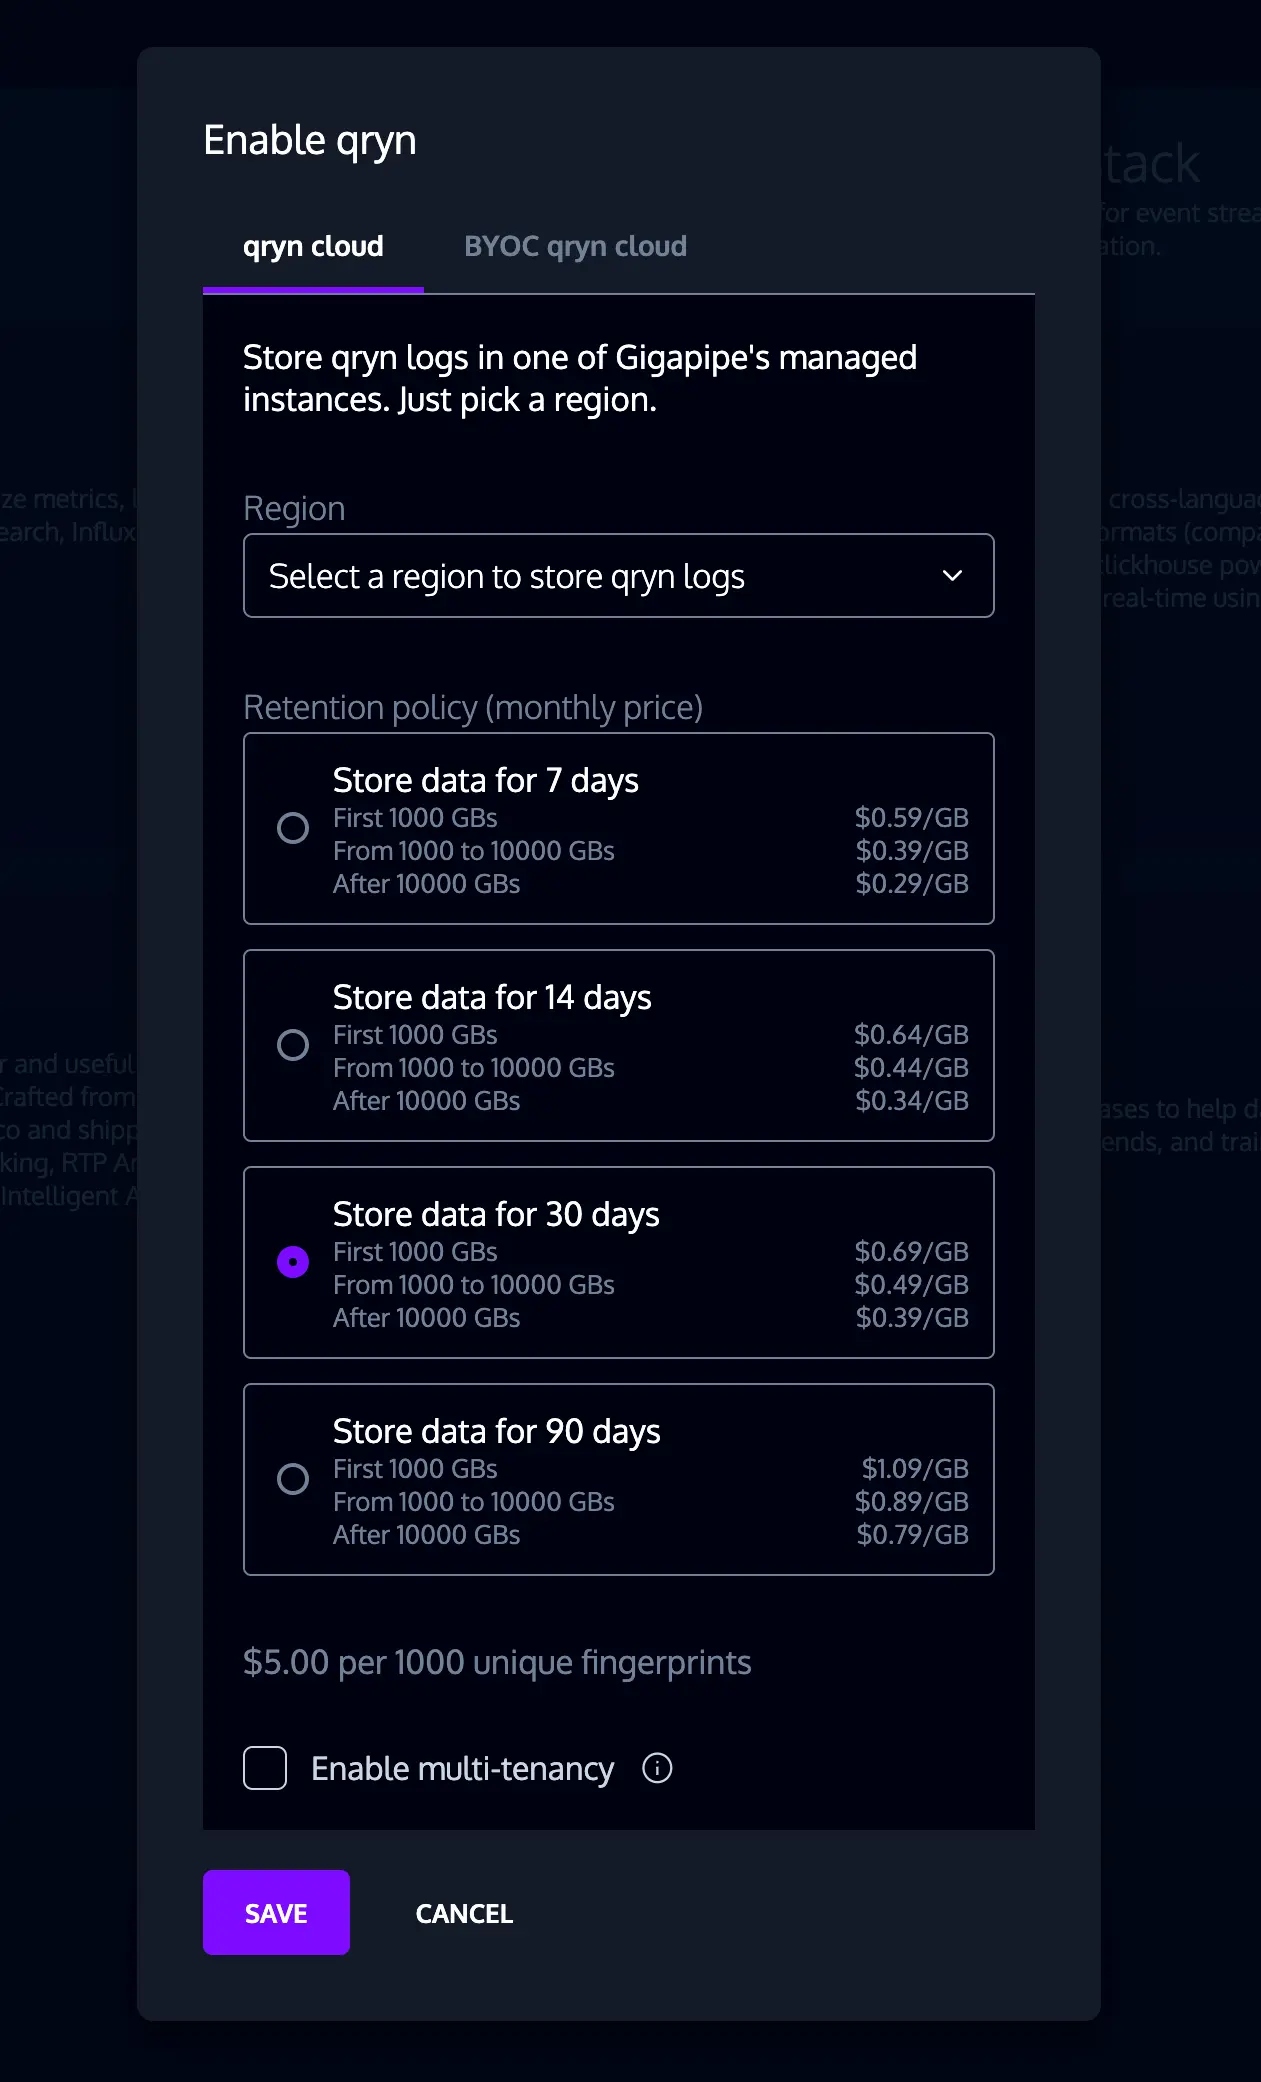
Once you are done click on Save. Thats it! You have added qryn cloud to your first project and are ready to start collecting some observability data.
After enabling qryn cloud you will be presented with the credentials for your instance. For this guide we will not need them but in your projects we encourage you to save them in a safe place for later use.
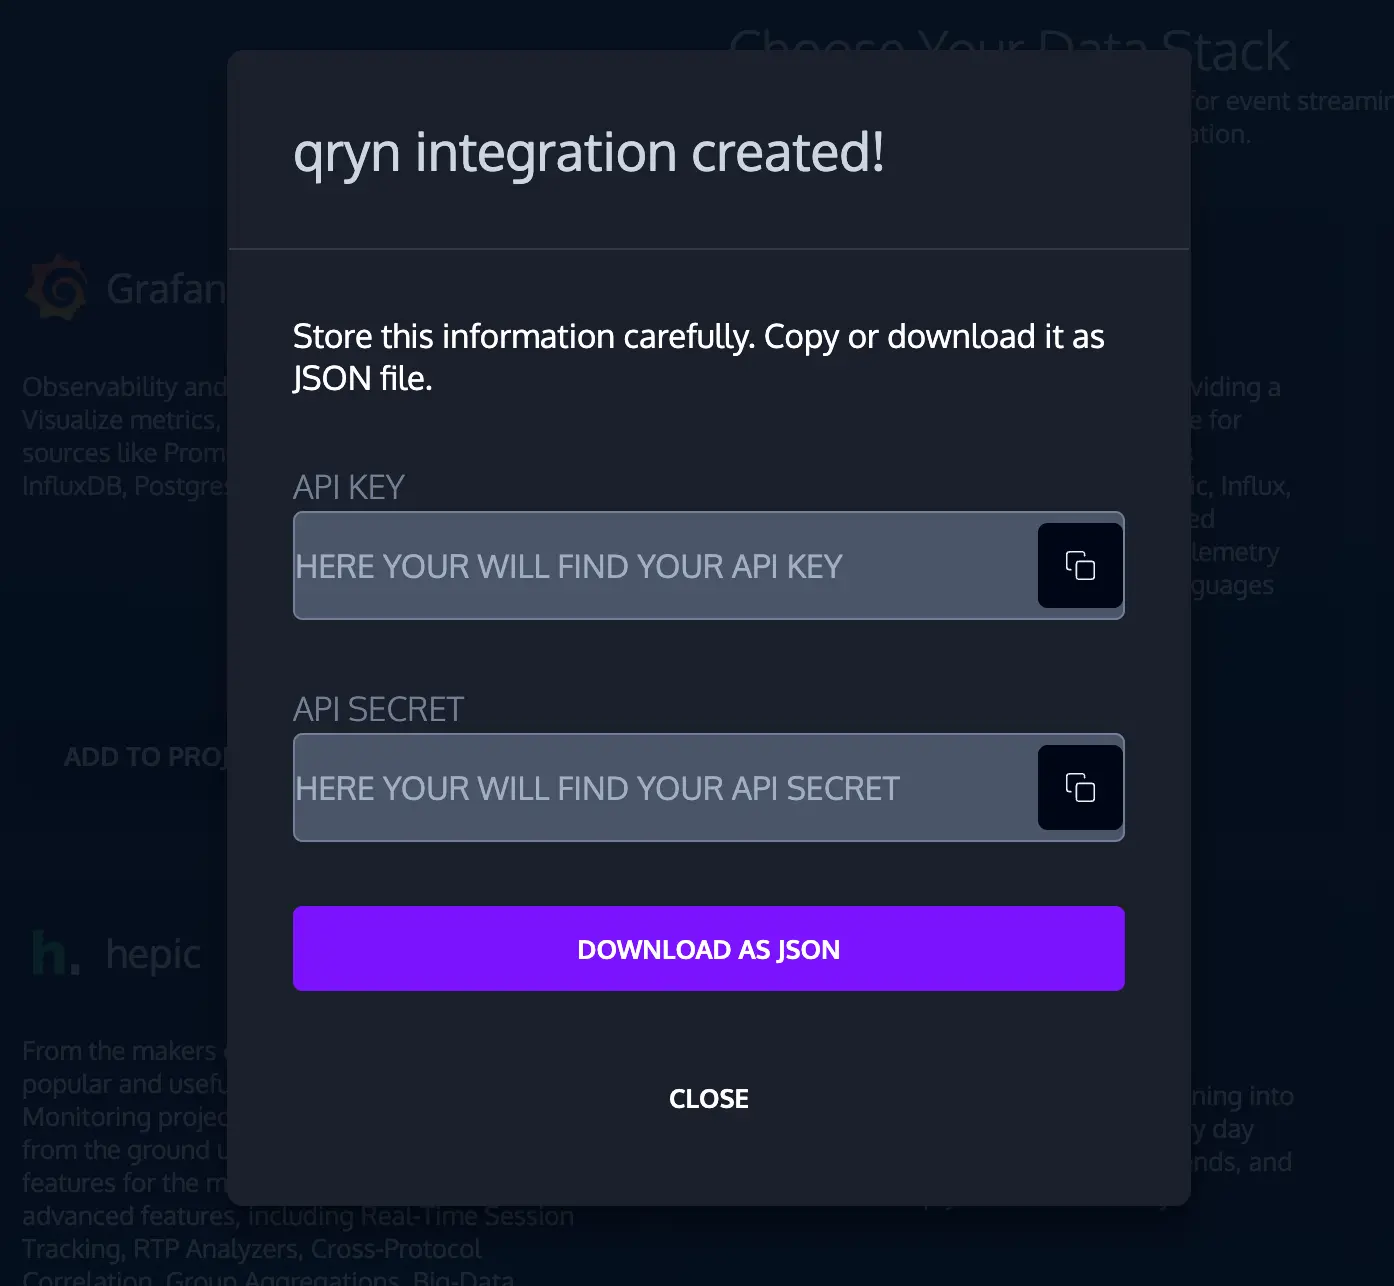
You always would be able to retrieve the credentials from your project's qryn auth page.
Ingest some data
Now that you have qryn cloud running, let's start ingesting some data!
The most straightforward way is to simply use cURL (you can see some snippets in the overview page). But for this guide we will use one of the tools we offer at Gigapipe, Loggen.
Loggen is a small CLI application that can also be added and executed from the Gigapipe dashboard that generates fake observability data. Since it is tightly integrated with Gigapipe's ecosystem you don't need to configure it to send the data to your qryn cloud instance (we do it for you 😄)
Install Loggen
Go to the integrations pages and select Add to project for Loggen. Once enabled go to the Loggen page.
We will need to add a couple of labels so we can use them later to query our logs.

You can leave the rest of the config as is.
Once you are ready click save and run. Loggen generate data and send it to qryn cloud for 30s.
We are now ready to see some data in Grafana!
Visualize your data
We have a few options to visualize your data:
- You can use our headless solution qryn-view, that you can launch from the qryn page. It will be automatically configured to connect to your qryn cloud instance.
- Another option is to use Grafana and its datasources to visualize your logs and traces.
To showcase again the power of Gigapipe's integration between tools we will guide you through the steps to get started with Grafana.
Add Grafana to your project
As before, go to the integrations page and select Add to project for Grafana.
Once enabled go to the Grafana page. Here you will be presented with the following alert:

Because we know that you have qryn enabled for this project we are able to suggest adding the necessary datasources to Grafana. Click the add qryn datasources, you can leave the default names for now.
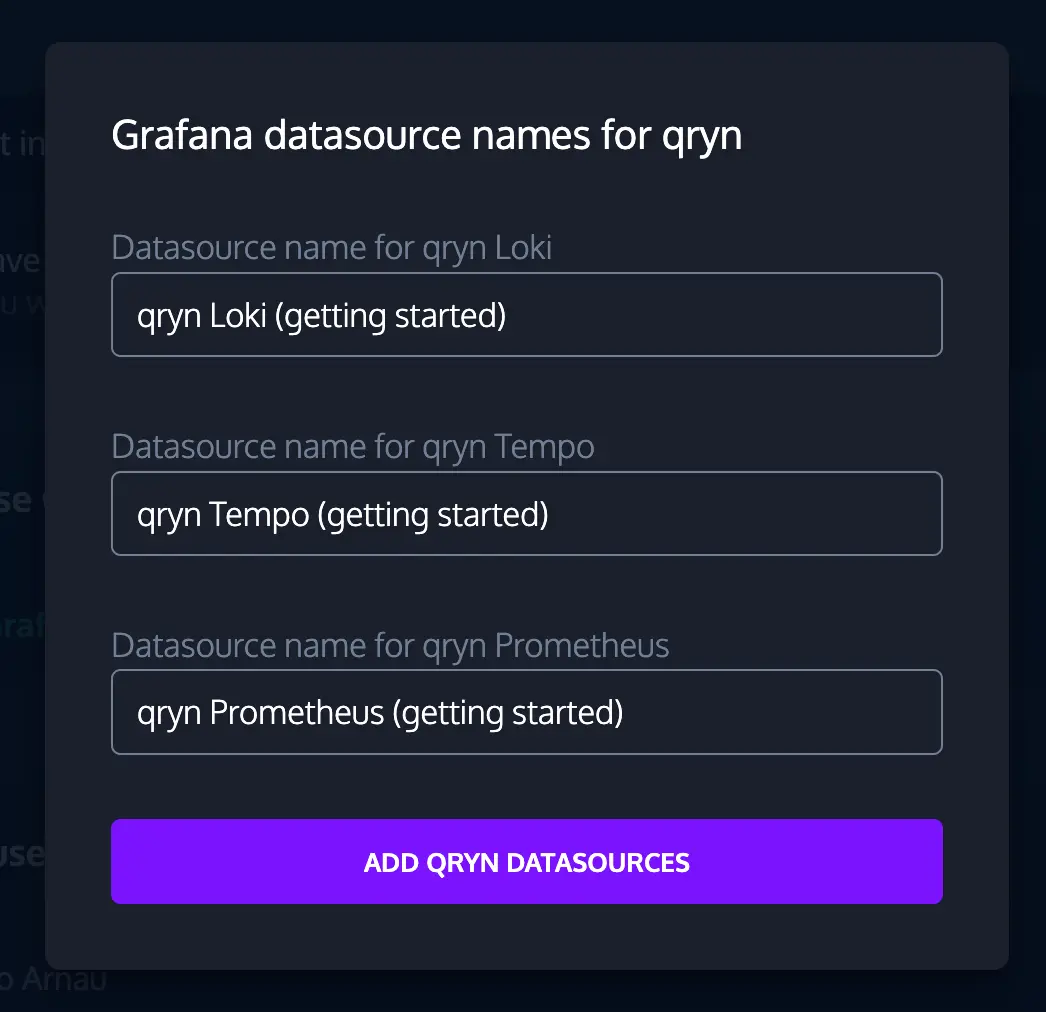
This will add a data source for the logs using the Loki compatible API of qryn, and another data source for the traces using the Tempo API.
Grafana Loki and Grafana Tempo are two separate projects from Grafana Labs. Because qryn cloud is a polyglot observability tool, it is compatible with those APIs and many more, making it a drop-in all in one solution.
To keep this guide simple, we have chosen to use the Loki/Tempo APIs but feel free to explore all available options, and if the one your company uses is not listed, please reach out to us info@gigapipe.com
Query your data
From the Grafana page in Gigapipe click the Launch Grafana button, you will be automatically logged in with your Gigapipe user.
Open the Explore page and select the qryn Loki (YOUR PROJECT NAME) datasource.


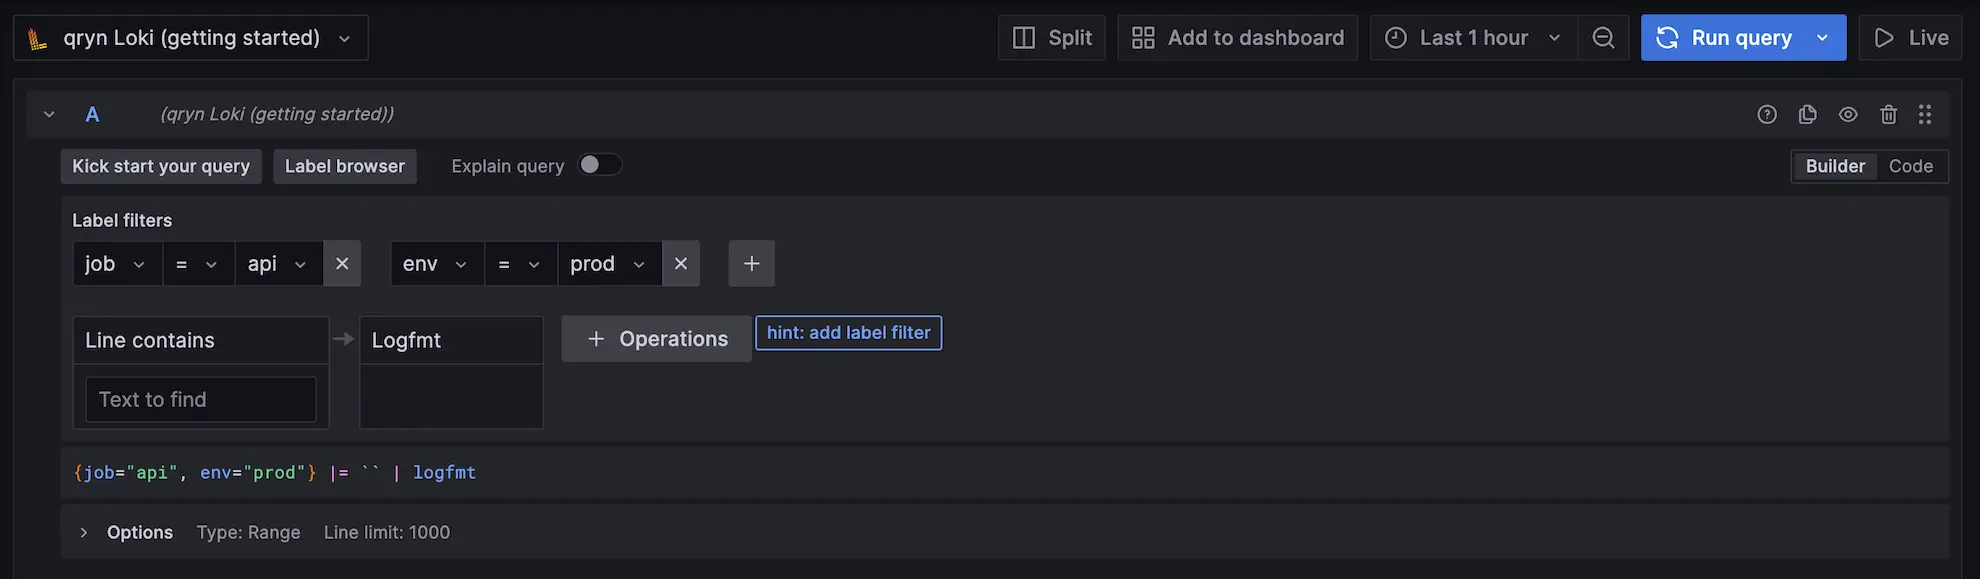
Let's query some log entries:
- Select the
jobandenvlabels. In this example we only sent logs for theapijob and with a singleprodenvironment but in a real scenario you could use labels to identify different applications. - Click on the run query button.
- Optional: the default format for the logs generated by Loggen is
logfmt. Grafana would suggest you to enable the parser so you can extract the content of the log line as labels.
If you scroll down and open one of the entries you will see something like this:
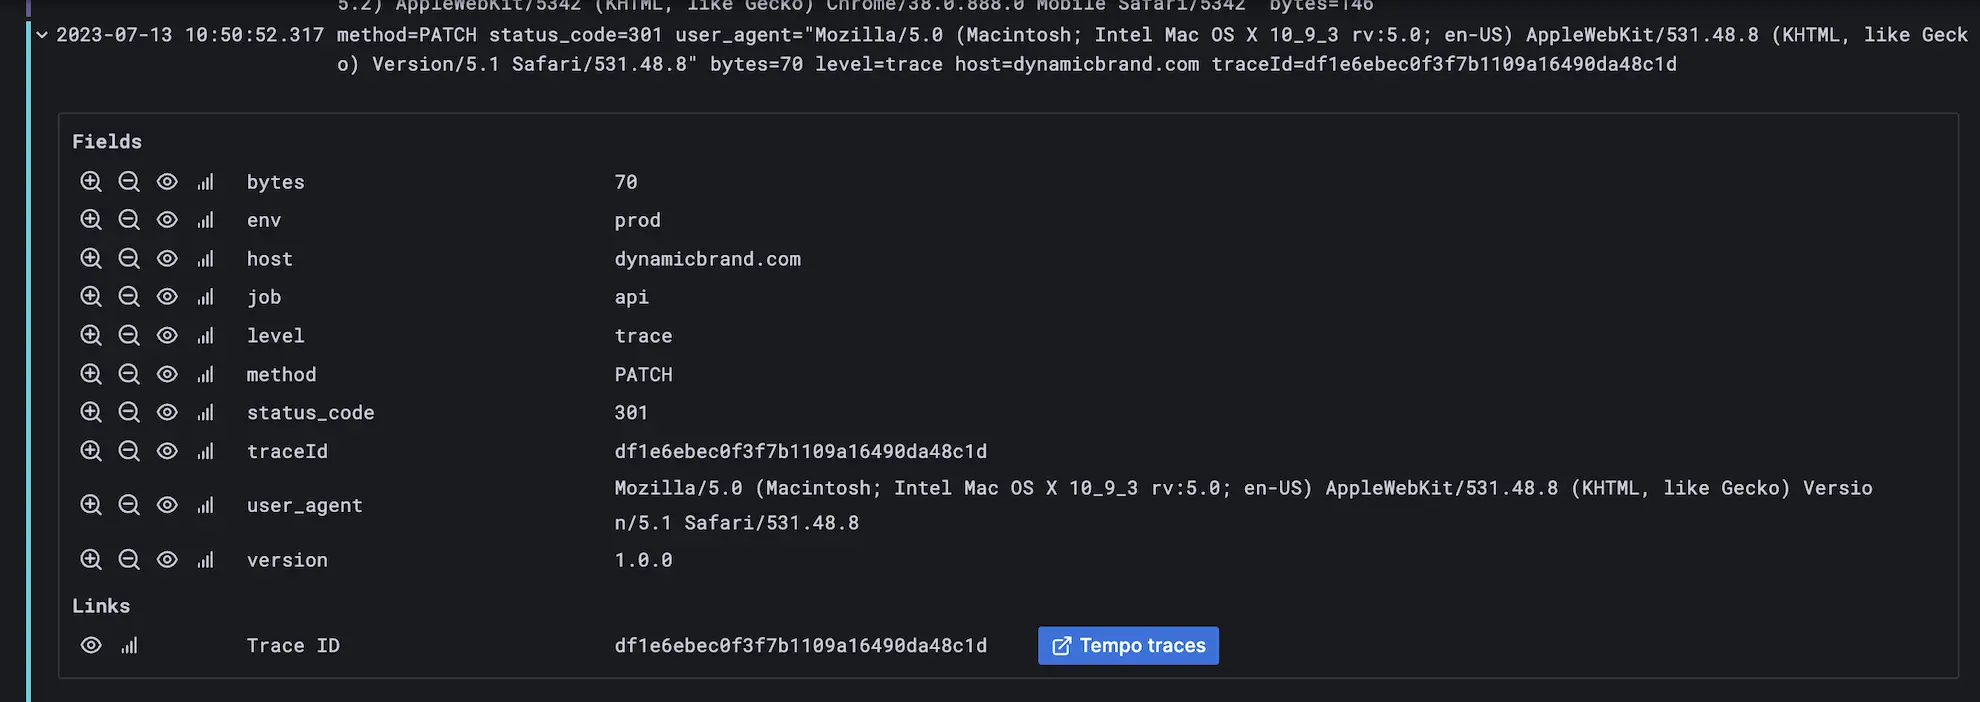
When sending traces alongside your logs we would detect that and they would be automatically linked so you can have a better understanding of what is happening.
For more information on the query syntax, see LogQL docs.
Next steps
You now have a basic understanding of how to use qryn cloud to ingest and visualize your observability data.
In this guide we have used qryn's Loki API, but as a polyglot monitoring and observability tool you are free to use any of the APIs we offer. Some links to explore:
We are also open to suggestions and requests to improve the documentation. Feel free to ping us on info@gigapipe.com or the chat at the bottom right corner.